


What is a node?
Every automation starts with clear steps — and in Gumloop, those steps are called nodes. Learn how to use nodes to connect tools, add AI, and build the foundation of your workflow right on the canvas.
Every workflow, no matter how complex, comes down to three things: inputs, steps, and outputs. You're going to hear me say that a lot in this course.
Here's what that looks like in practice:
- Grab emails from a Google Sheet → Enrich them with Apollo → Update the Google Sheet
- Read a support ticket → Categorize it with AI → Update the ticket status
In Gumloop, we represent each step of your automation as nodes on a canvas. So that's the first important building block to understand when you're automating.
Let's dive in.
The Node Library: Your Automation Toolkit
When you create a flow in Gumloop, you're building out your automation step by step. Each of those steps comes from the node library, your toolkit for automation.
The node library contains everything you can do in Gumloop, organized into categories:
Integrations: Read and write data to your favorite tools like Google Sheets, Salesforce, Slack, HubSpot, and dozens more.
AI: Use AI in different ways: Ask AI to generate content, categorize data, extract information, or analyze text.
Enrichment & Scraping: Pull in data from external sources, enrich contact information, or scrape websites.
Flow Logic: Add filters, loops, conditional logic, and other controls to make your automation smarter.
Every tool you use, every AI model you prompt, every piece of data you move—it all starts with a node from this library.
Anatomy of a Node
Although each node does something different, they all follow the same basic structure. Let's break down the three essential parts every node has:
1. Inputs
Inputs are the information being passed into the node from previous steps in your flow.
Think of inputs as the raw materials the node needs to do its job. For example:
- A Gmail Sender node needs the recipient's email and message content as inputs
- An AI Categorizer node needs the text to categorize as input
- A Google Sheets Writer node needs the data to write as input
In your first automation, you might not have inputs yet—that's fine. But as your flows get more complex, you'll connect nodes together and pass data between them. (We'll cover this in the next lesson!)
2. Parameters
Parameters are the settings you configure to tell the node exactly what to do.
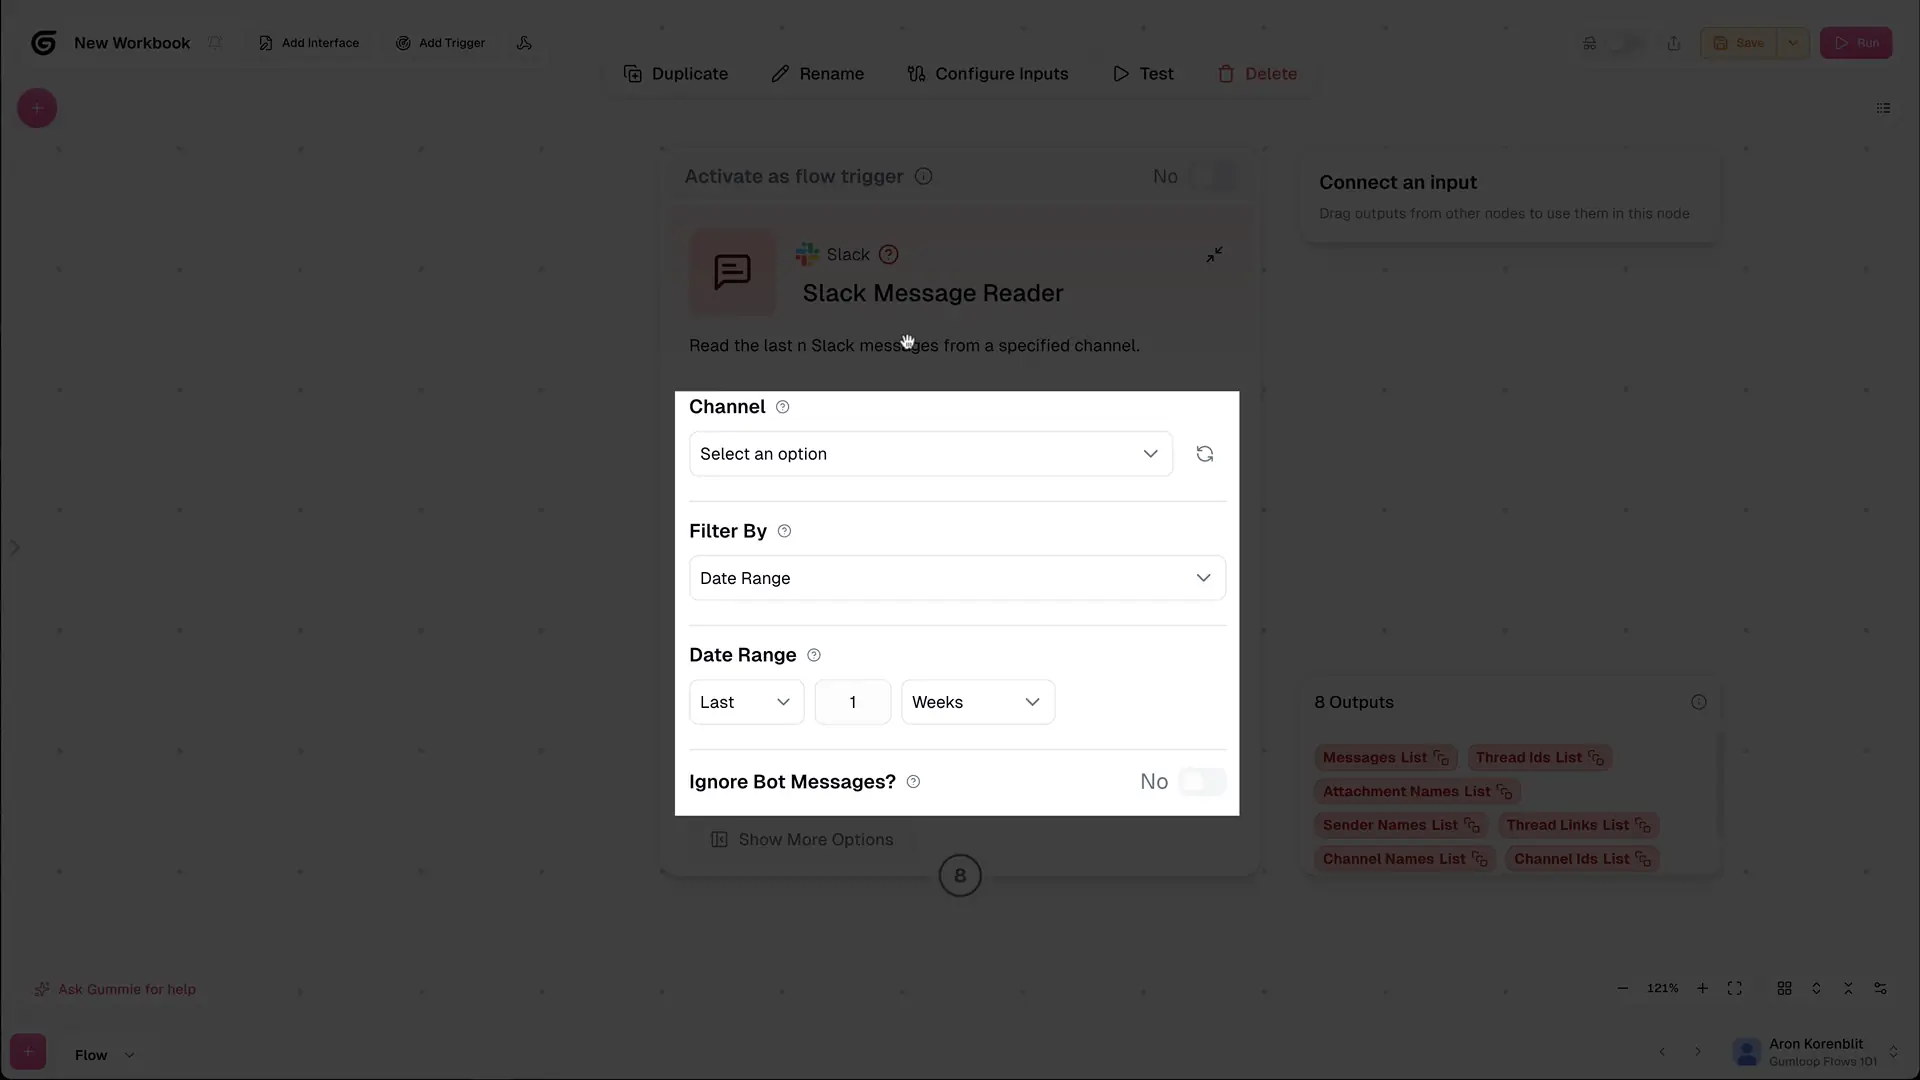
This is where you customize the node's behavior. For example:
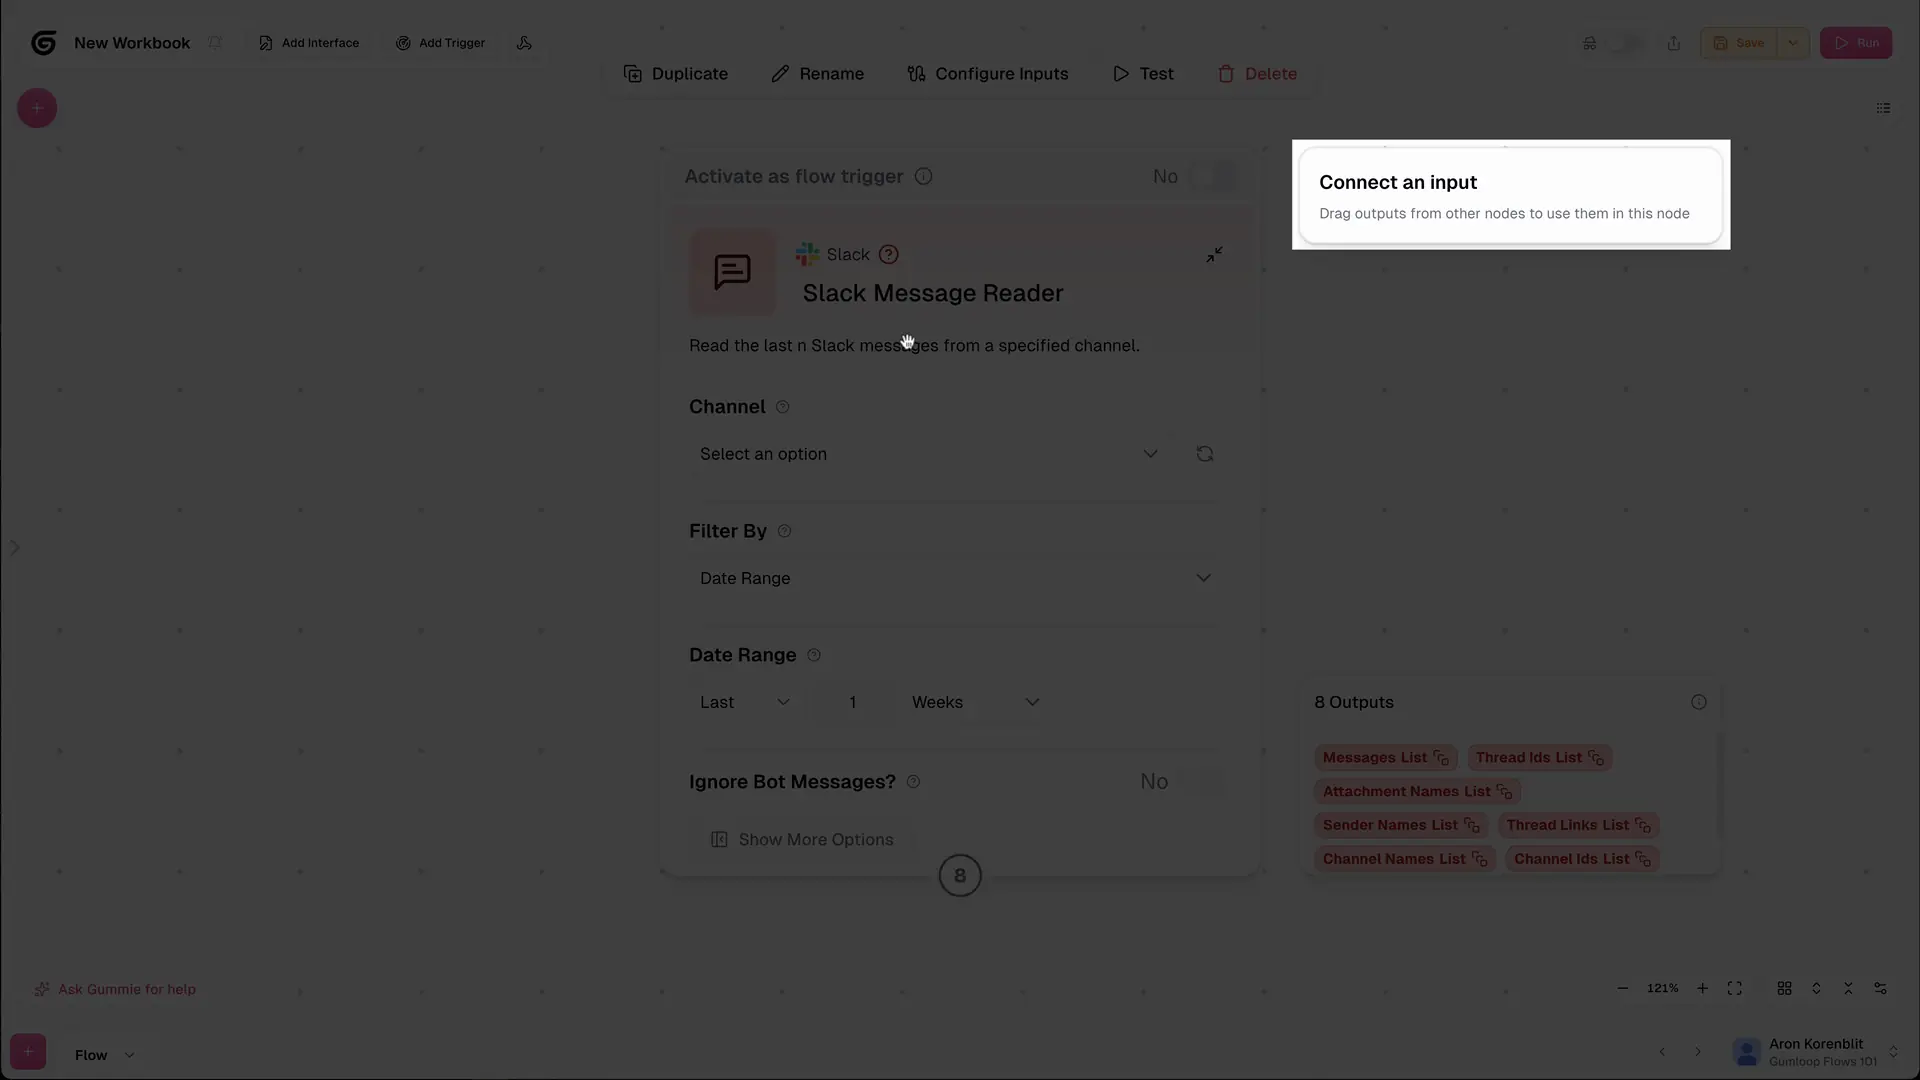
- In a Slack Reader node, you'd set which channel to read from and what time range to pull messages
- In an Ask AI node, you'd write the prompt and choose which AI model to use
- In a Google Sheets Reader node, you'd select which spreadsheet and which sheet tab to read from
Parameters are how you make each node work for your specific use case.
3. Outputs
Outputs are what you get back from the node after it runs.
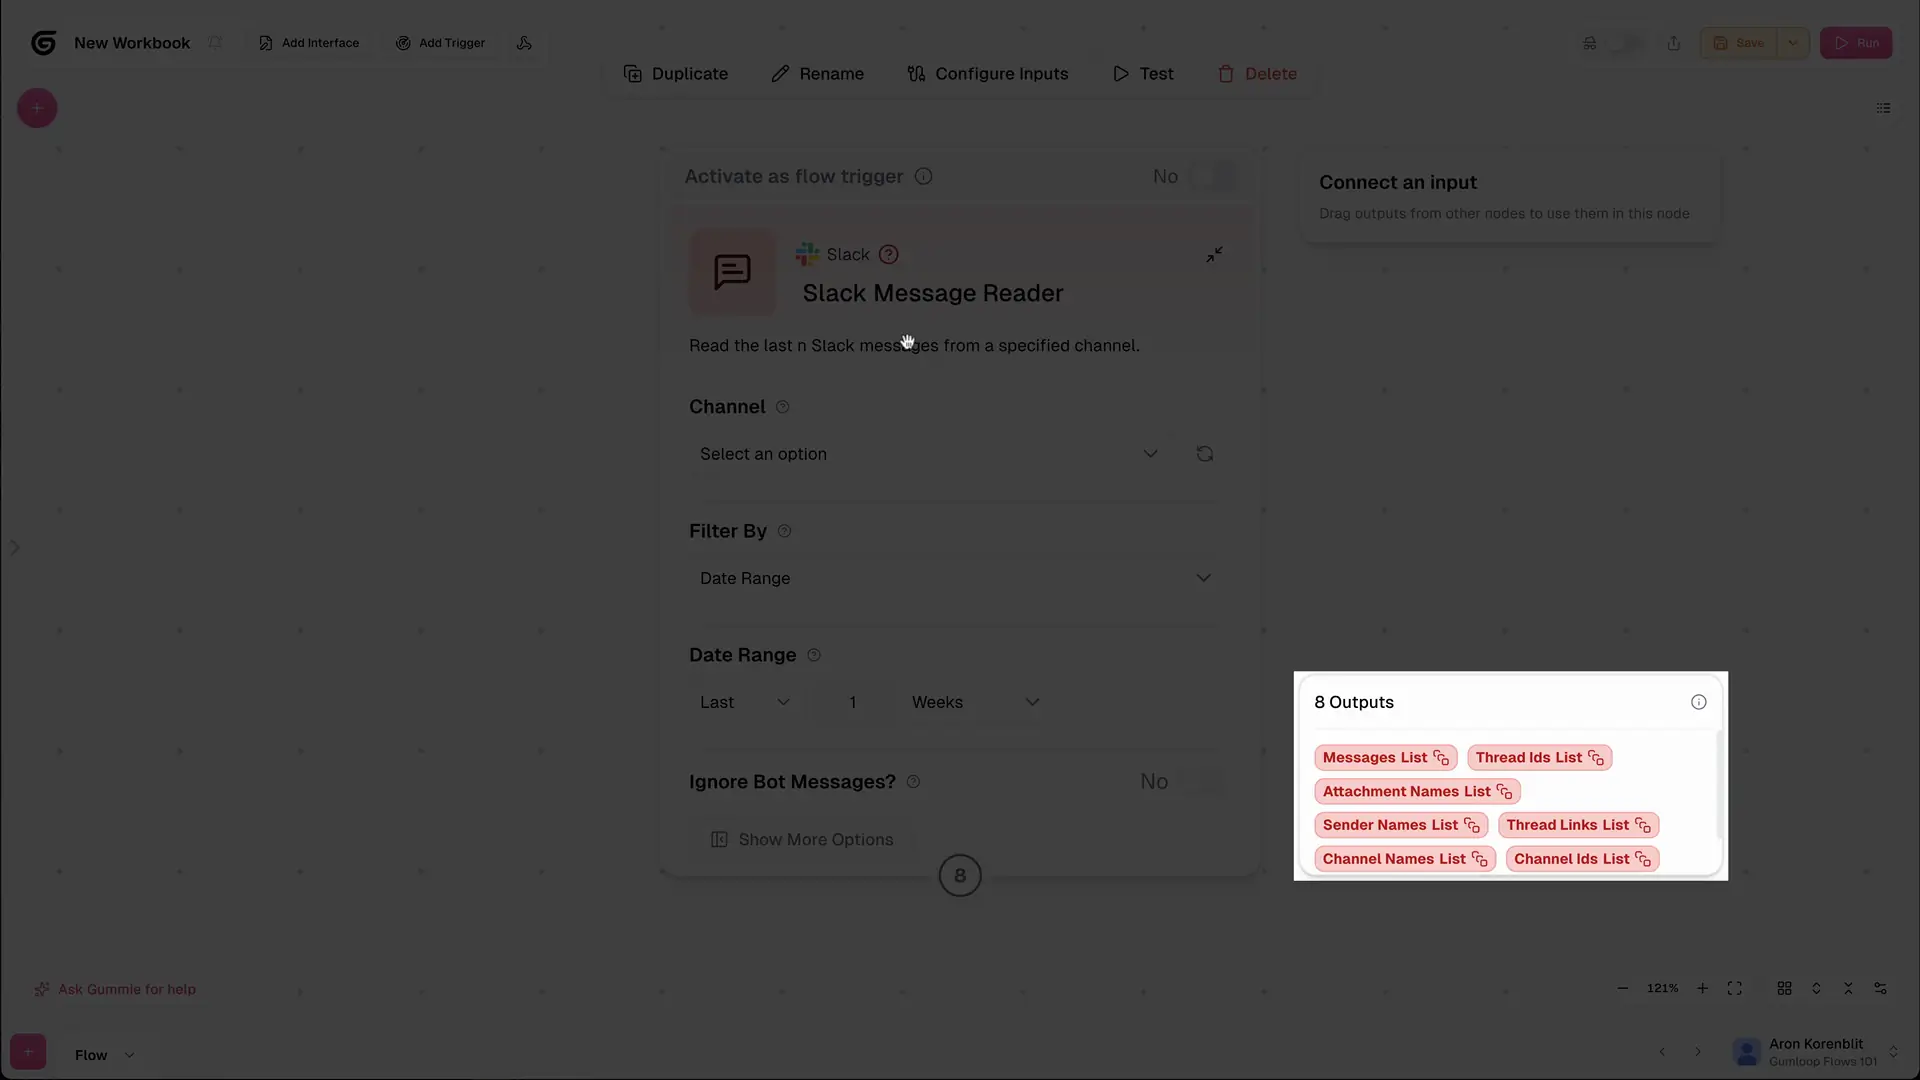
These are the results that you can use in the next steps of your flow. For example:
- A Slack Reader node outputs messages, sender names, timestamps, and thread IDs
- An Ask AI node outputs the generated text response
- A Google Sheets Reader node outputs the data from each column as separate outputs
Outputs from one node often become inputs for the next node—that's how you chain together a complete automation.
Examples: Nodes in Action
Let's look at a couple of real examples to see how this works.
Example 1: Slack Reader Node
Let's say you want to monitor your #general channel for important updates.
You'd add a Slack Reader node and configure it like this:
Parameters:
- Channel: #general
- Time range: Last 7 days
Outputs:
- Messages (the actual text of each message)
- Sender (who posted it)
- Timestamp (when it was posted)
- Thread ID (identifier of the message)
Click Run, and the node executes—pulling all messages from #general from the last week and showing you the results.
Example 2: Perplexity Node
Let's say you want to research recent news about Microsoft for a report you're writing.
You'd add a Perplexity node (Perplexity is an AI search engine) and configure it like this:
Parameters:
- Query: "Give me recent news about Microsoft"
Outputs:
- Search results (the answer from Perplexity)
- Sources (links to where the information came from)
Click Run, and the node executes—performing a web search and returning the latest news along with citations.
Have We Automated Anything Yet?
No. 😅
But are we closer to automating things? Absolutely.
Right now, you're learning the building blocks. Individual nodes are like ingredients—you need to know what they do before you can combine them into a recipe.
In the next lesson, we'll connect nodes together and turn them into an actual automation that runs from start to finish.
Your action item
Before the next lesson, go ahead and add some nodes to your canvas. Pick a few from the node library—maybe a Google Sheets reader, an Ask AI node, or a Slack sender. Play around with the parameters. Click Run and see what happens.
You don't need to connect them yet. Just get comfortable with how individual nodes work.
Once you've experimented with a few nodes, you'll be ready to turn them into a real, working automation. That's exactly what we're covering next: how to connect nodes together and create your first complete flow. 🚀
